Pet-Safe Holiday Cookie Recipes For Dogs
‘Tis the season to bake cookies!
Get your pup into the holiday mood with two pet-safe recipes for dogs.
The first is a take on the classic iced “sugar” cookie, and the second is a nod to a chewy, chunky “kitchen sink” cookie that’s sure to get plenty of happy woofs and wags.
Each recipe has ground-up kibble and dog-safe bone broth for extra nutrition.
Both recipes were created by cookbook authors and co-founders of Trunk Pop Dinners Marge Perry and David Bonom. Vet-approved, easy to make, and super yummy, these can be whipped up during the festive season to spoil your bestie.
Always ask your veterinarian before feeding your dog any human foods or incorporating a new food into their diet.
Key Takeaways
- These pet-safe cookies can be a festive treat for your dog during the holiday season.
- These tasty treats have kibble and bone broth for extra nutrients.
- Use real maple syrup and natural peanut butter; imitation or sugar-free versions may contain xylitol, which is toxic for dogs.
- Sugar Cookies can stay on the counter, but Kitchen Sink Cookies should be refrigerated, since they contain meat.
“Sugar” Cookie DIY Holiday Dog Treat

- Yield: 12–24 cookies
- Serving size: 1 treat
- Prep time: 20 minutes
- Cook time: 25 minutes
- Download the printable recipe card
Ingredients
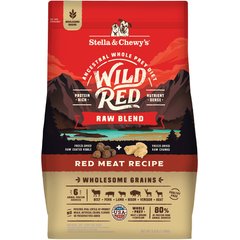
- 1 cup Stella & Chewy’s Wild Red Dry Dog Food, finely ground in a food processor
- 2 and 1/3 cups whole wheat flour (plus extra for rolling dough)
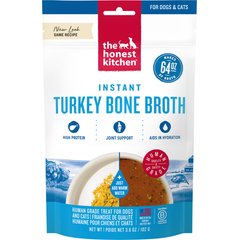
- 1 cup bone broth for dogs (try The Honest Kitchen Daily Boosters Turkey Bone Broth)
- 1 large egg, lightly beaten
- 2 tablespoons real maple syrup (do not substitute imitation maple syrup, which can contain xylitol, which is toxic to dogs)
- 3 tablespoons cornstarch
- 2 tablespoons water
- 1 ounce Neufchâtel cheese, softened
- Drops of natural food coloring if desired (try McCormick Nature’s Inspiration Food Colors)
Recommended Products
Supplies
- Food processor
- Hand mixer
- Mixing bowls
- Measuring cups and spoons
- Rolling pin
- Baking sheets
- Parchment paper
- Cookie cutters
- Letter stamp kit
- Piping bag and tips
Instructions

Make Cookie Icing
1. Mix cornstarch and water in a bowl until dissolved.

2. Add softened Neufchâtel cheese and beat with a hand mixer on medium until smooth.
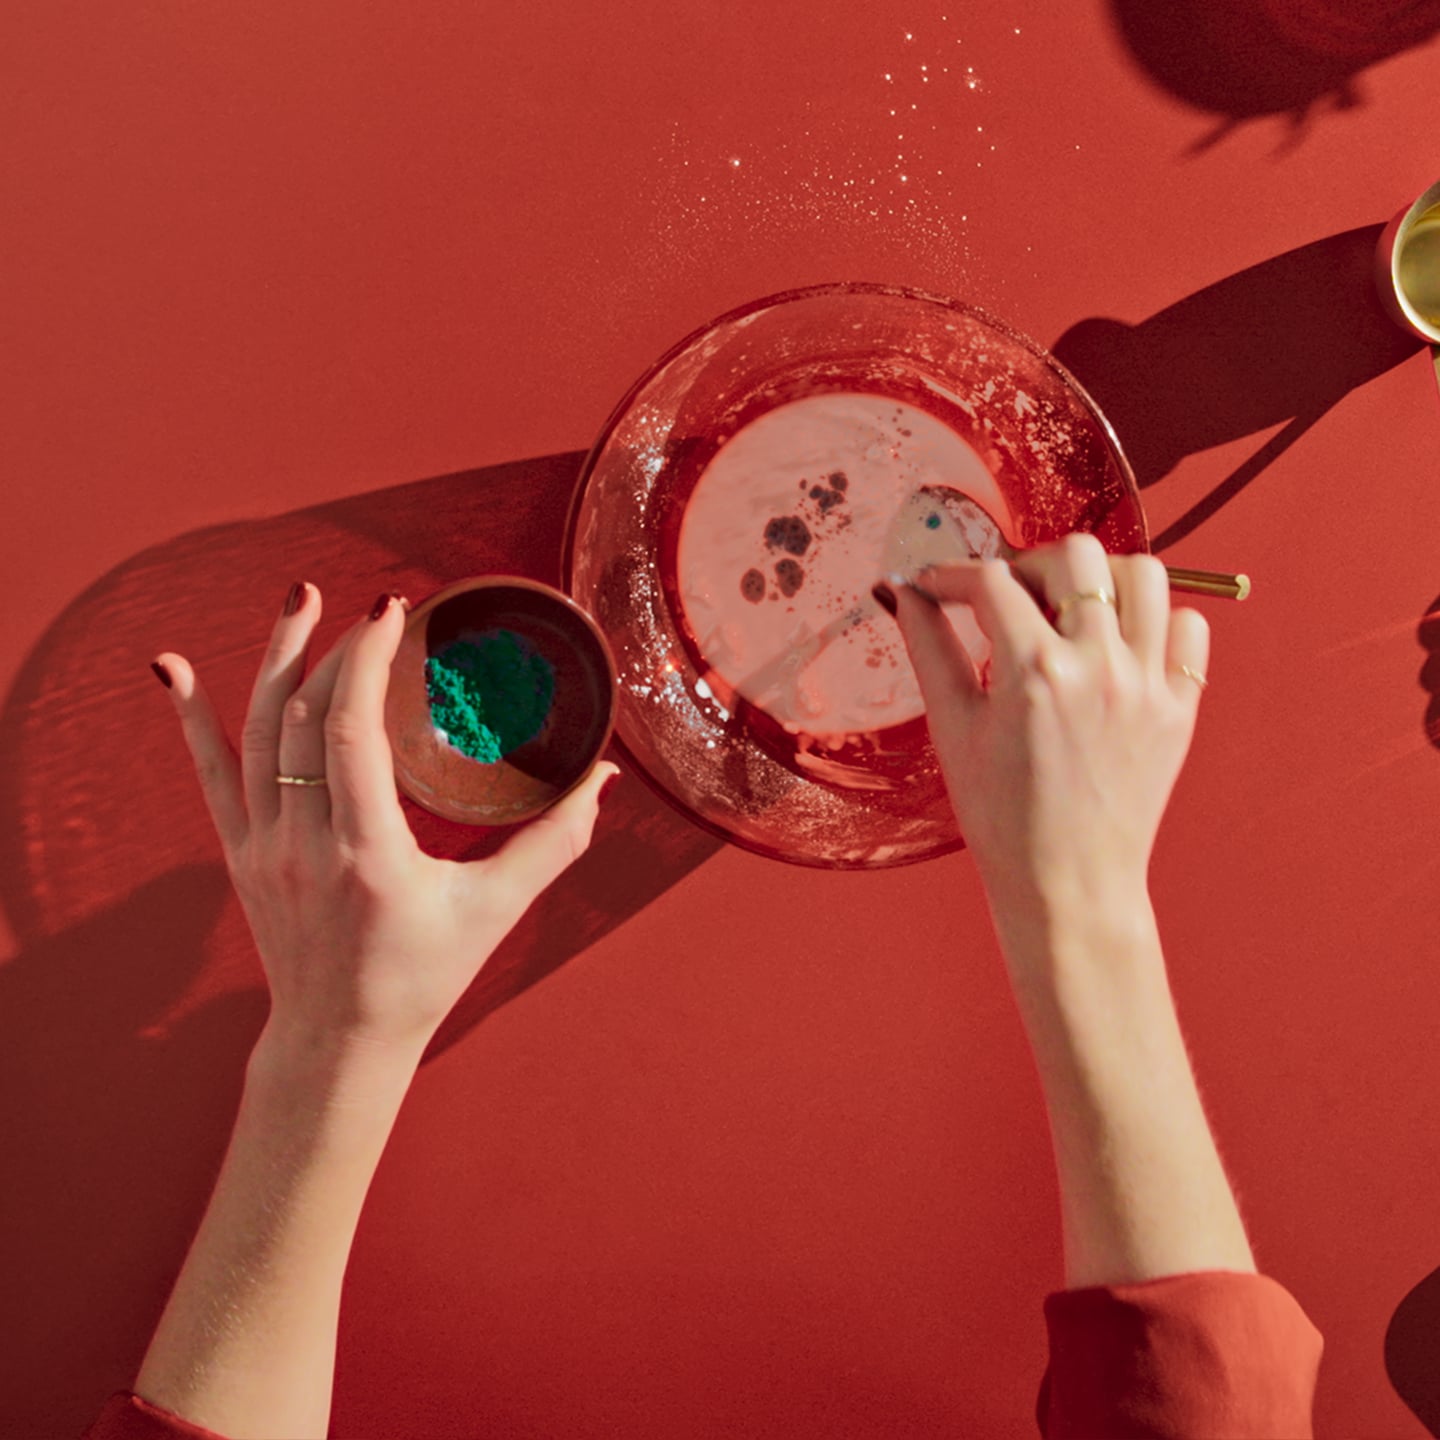
3. Add food coloring to mixture. (Make sure food coloring is natural and pet-safe.) If you want white icing with colorful accent, pour some of the prepared icing into a smaller bowl and just tint that amount.
4. Allow to sit at room temperature while the cookies bake, or chill if making icing well in advance.
Assemble Ingredients and Make Cookie Dough
1. Preheat the oven to 350 F. Line a sheet pan with parchment paper.
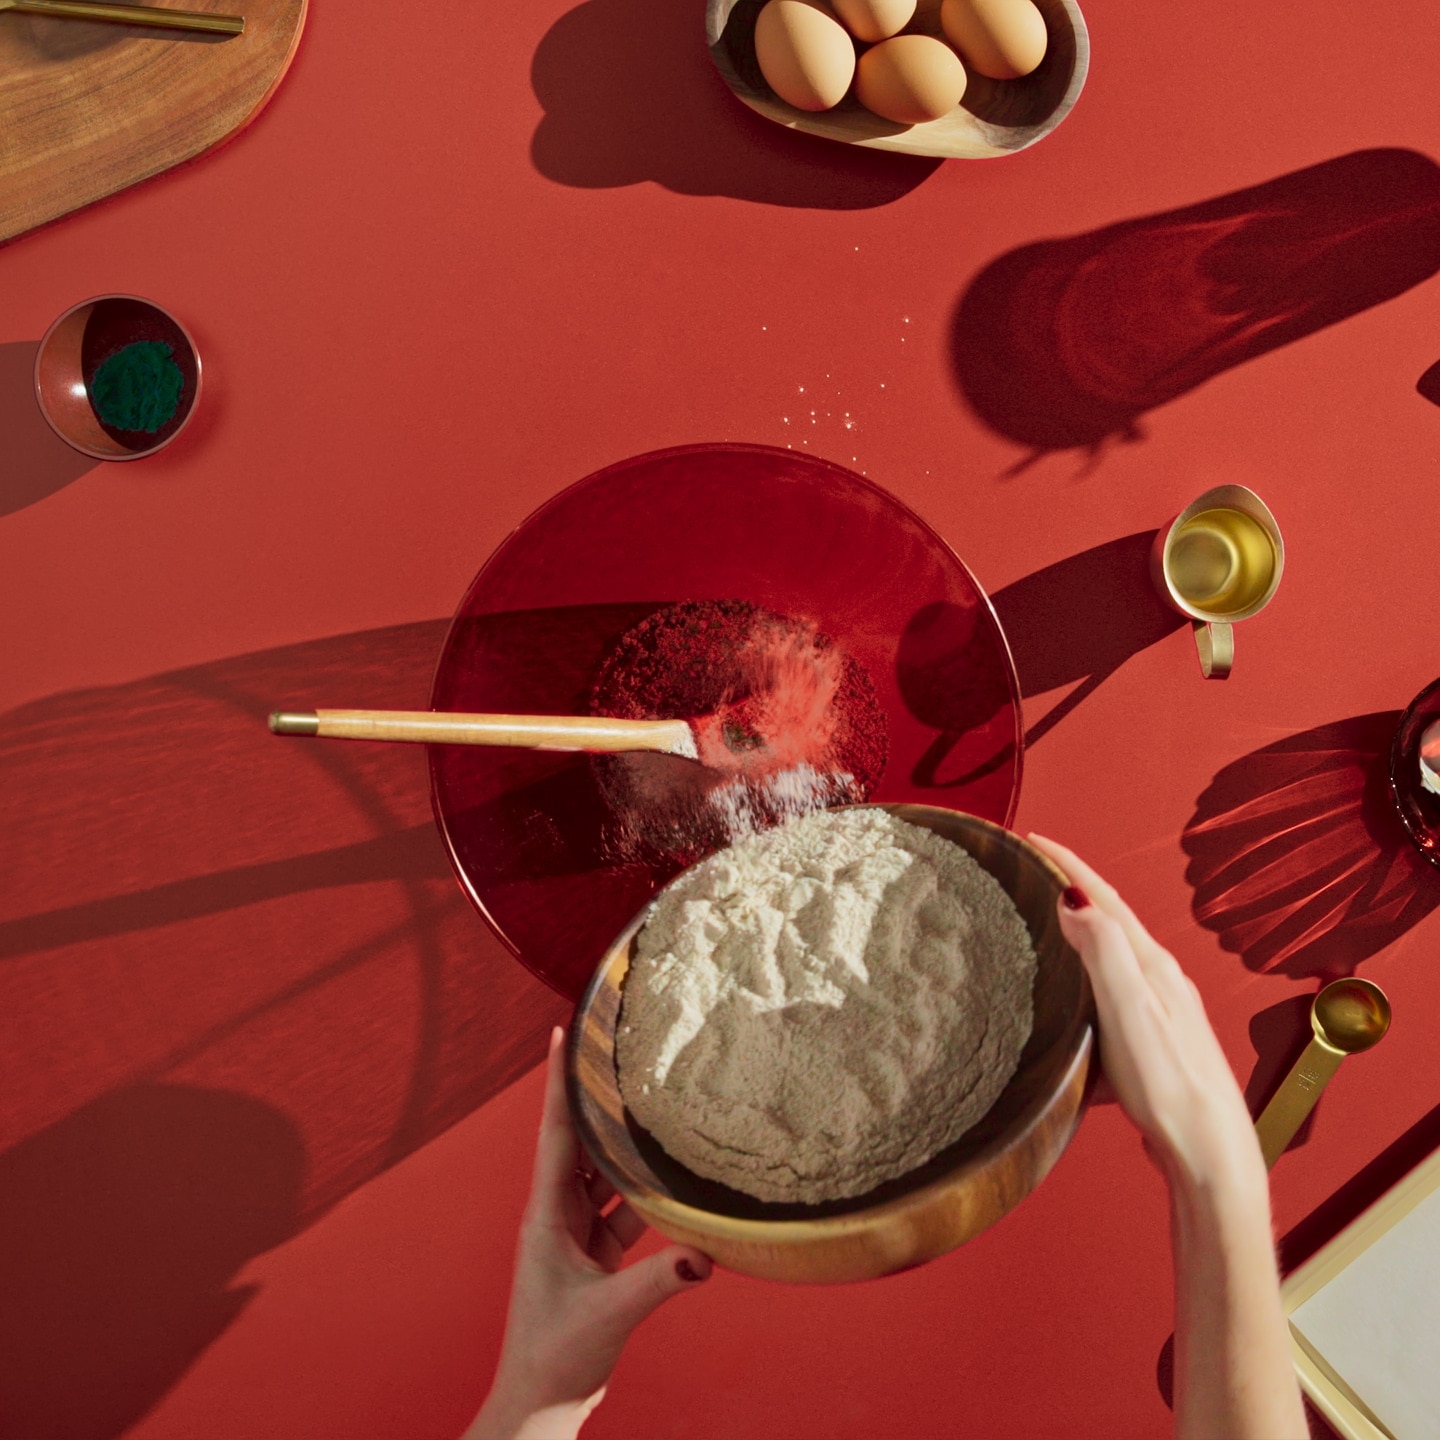
2. Combine ground kibble and whole wheat flour in a medium bowl and mix well.
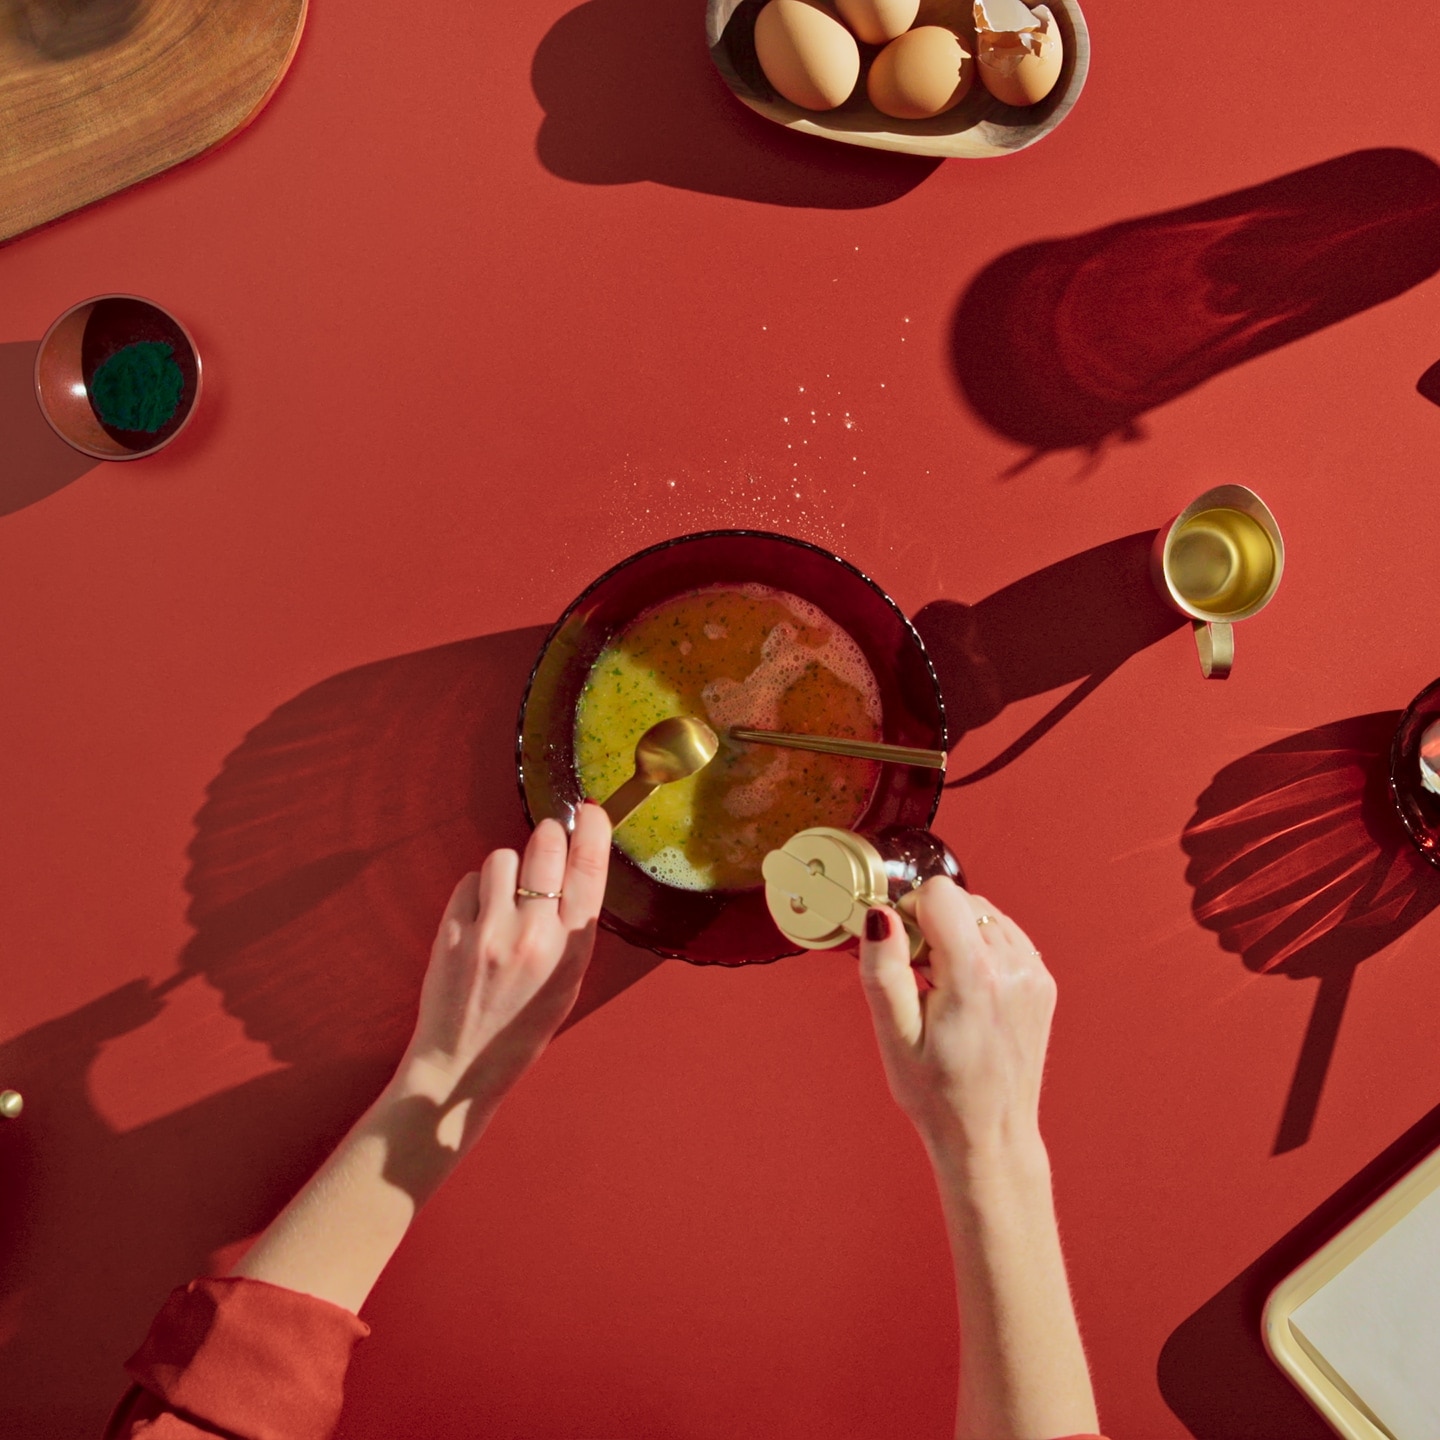
3. Combine re-constituted bone broth, beaten egg and real maple syrup in a small bowl.
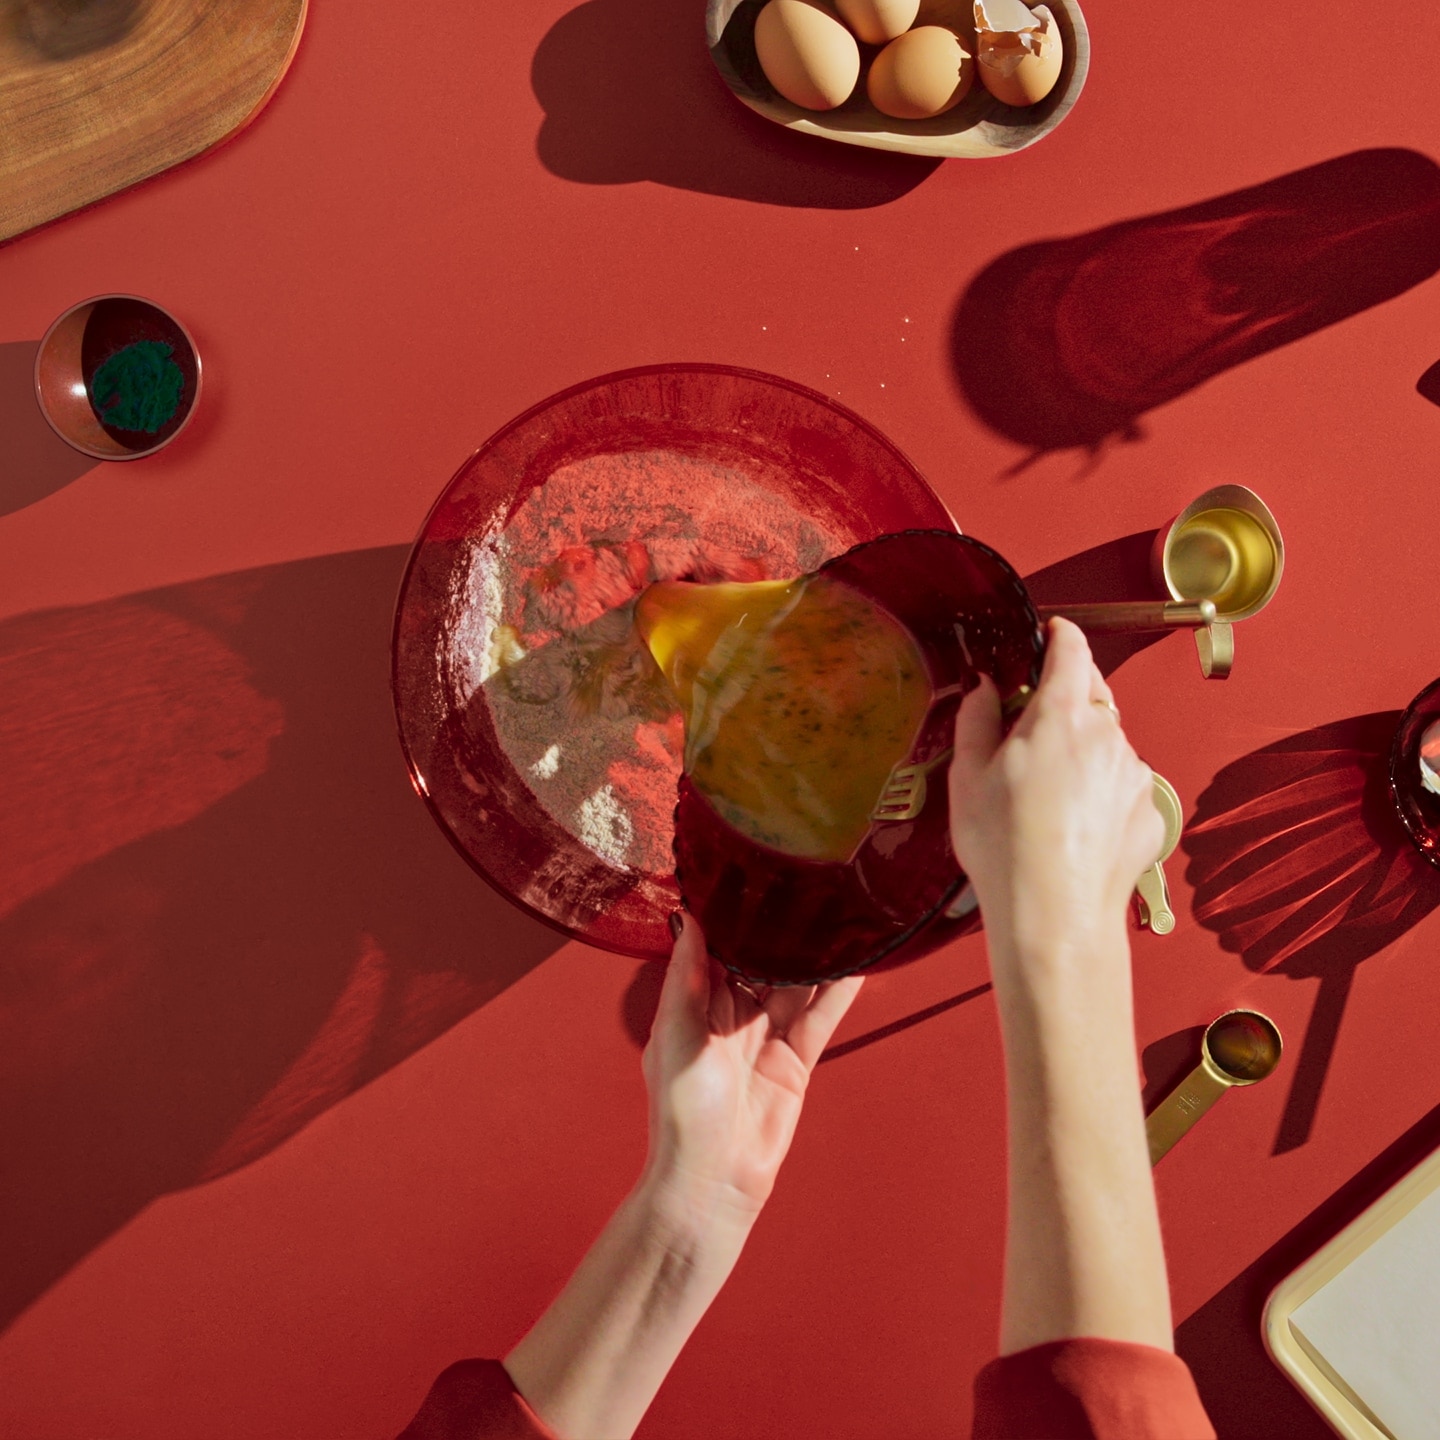
4. Add wet ingredients to dry ingredients and mix well to combine. Mixture will come together to form a ball of raw dough.
Roll Dough, Cut Out Shapes, and Bake
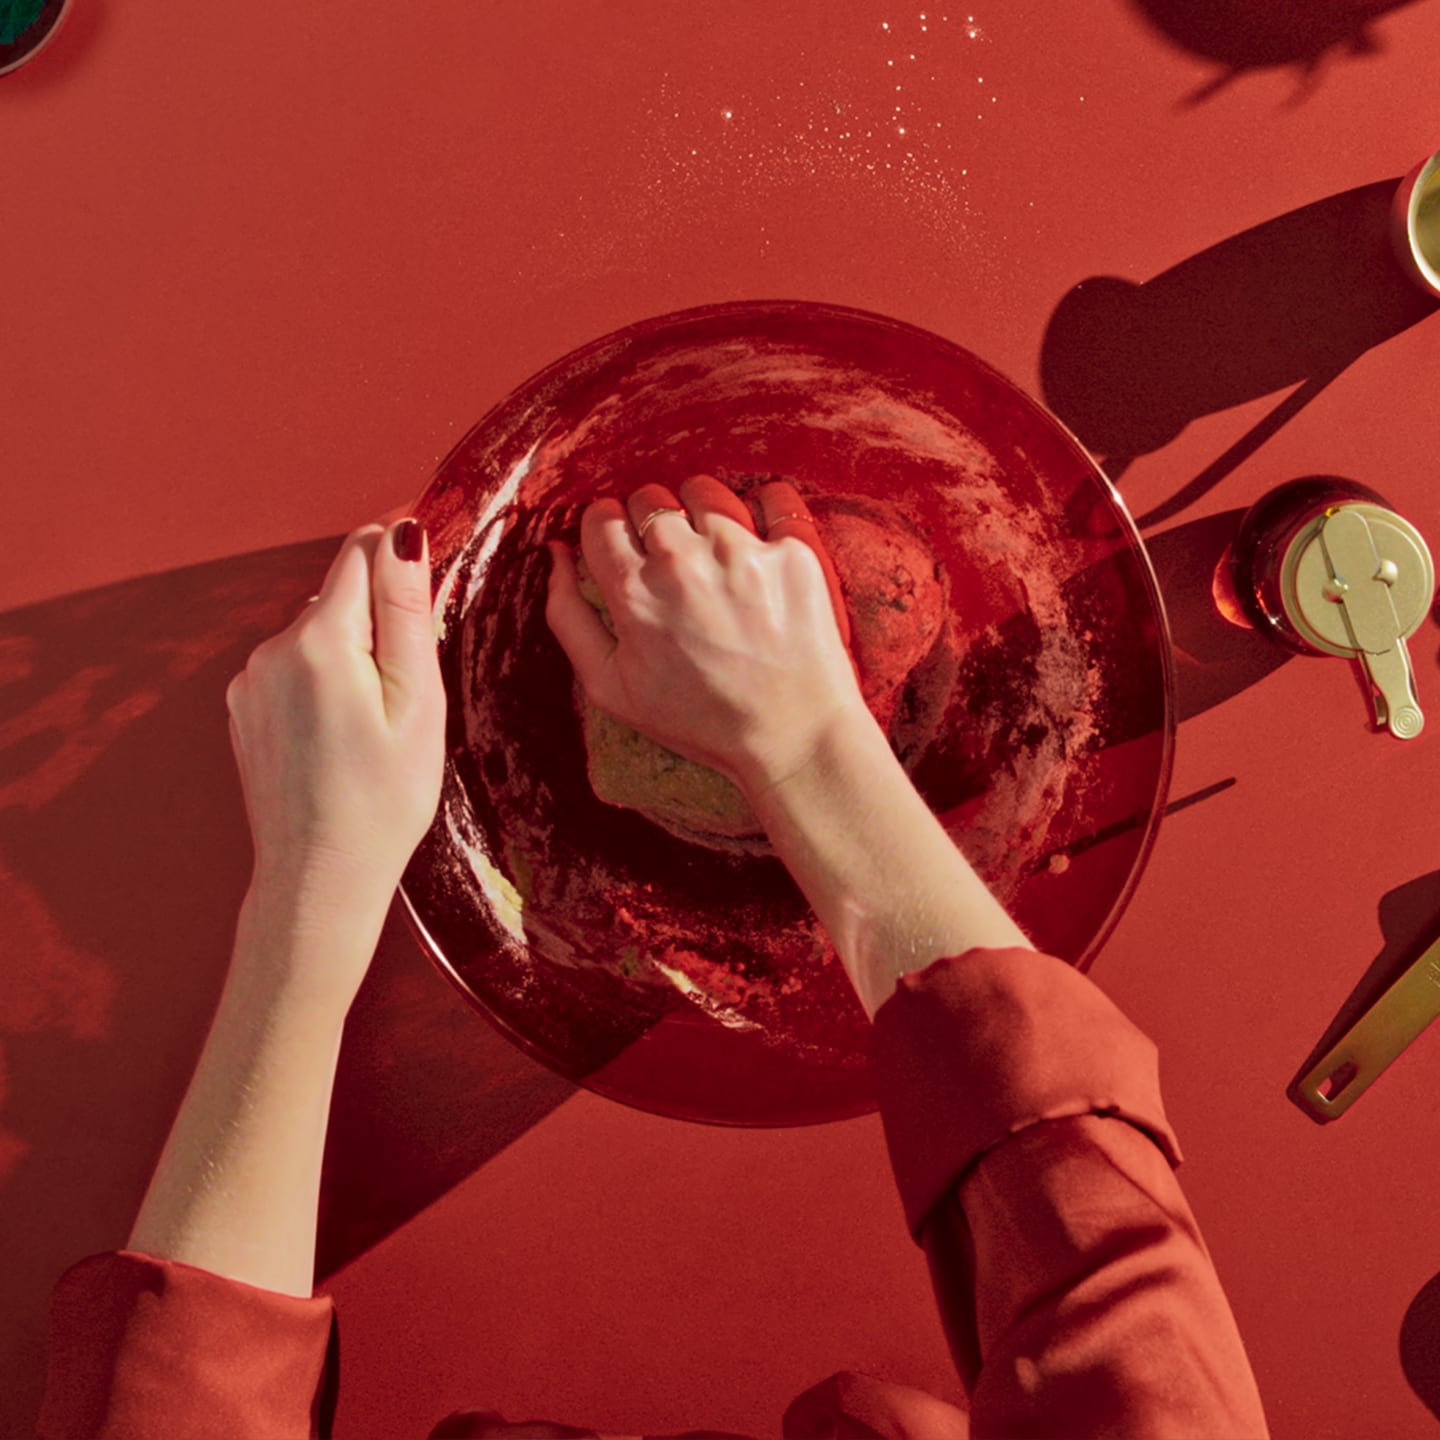
1. Gently knead dough in the bowl until smooth.
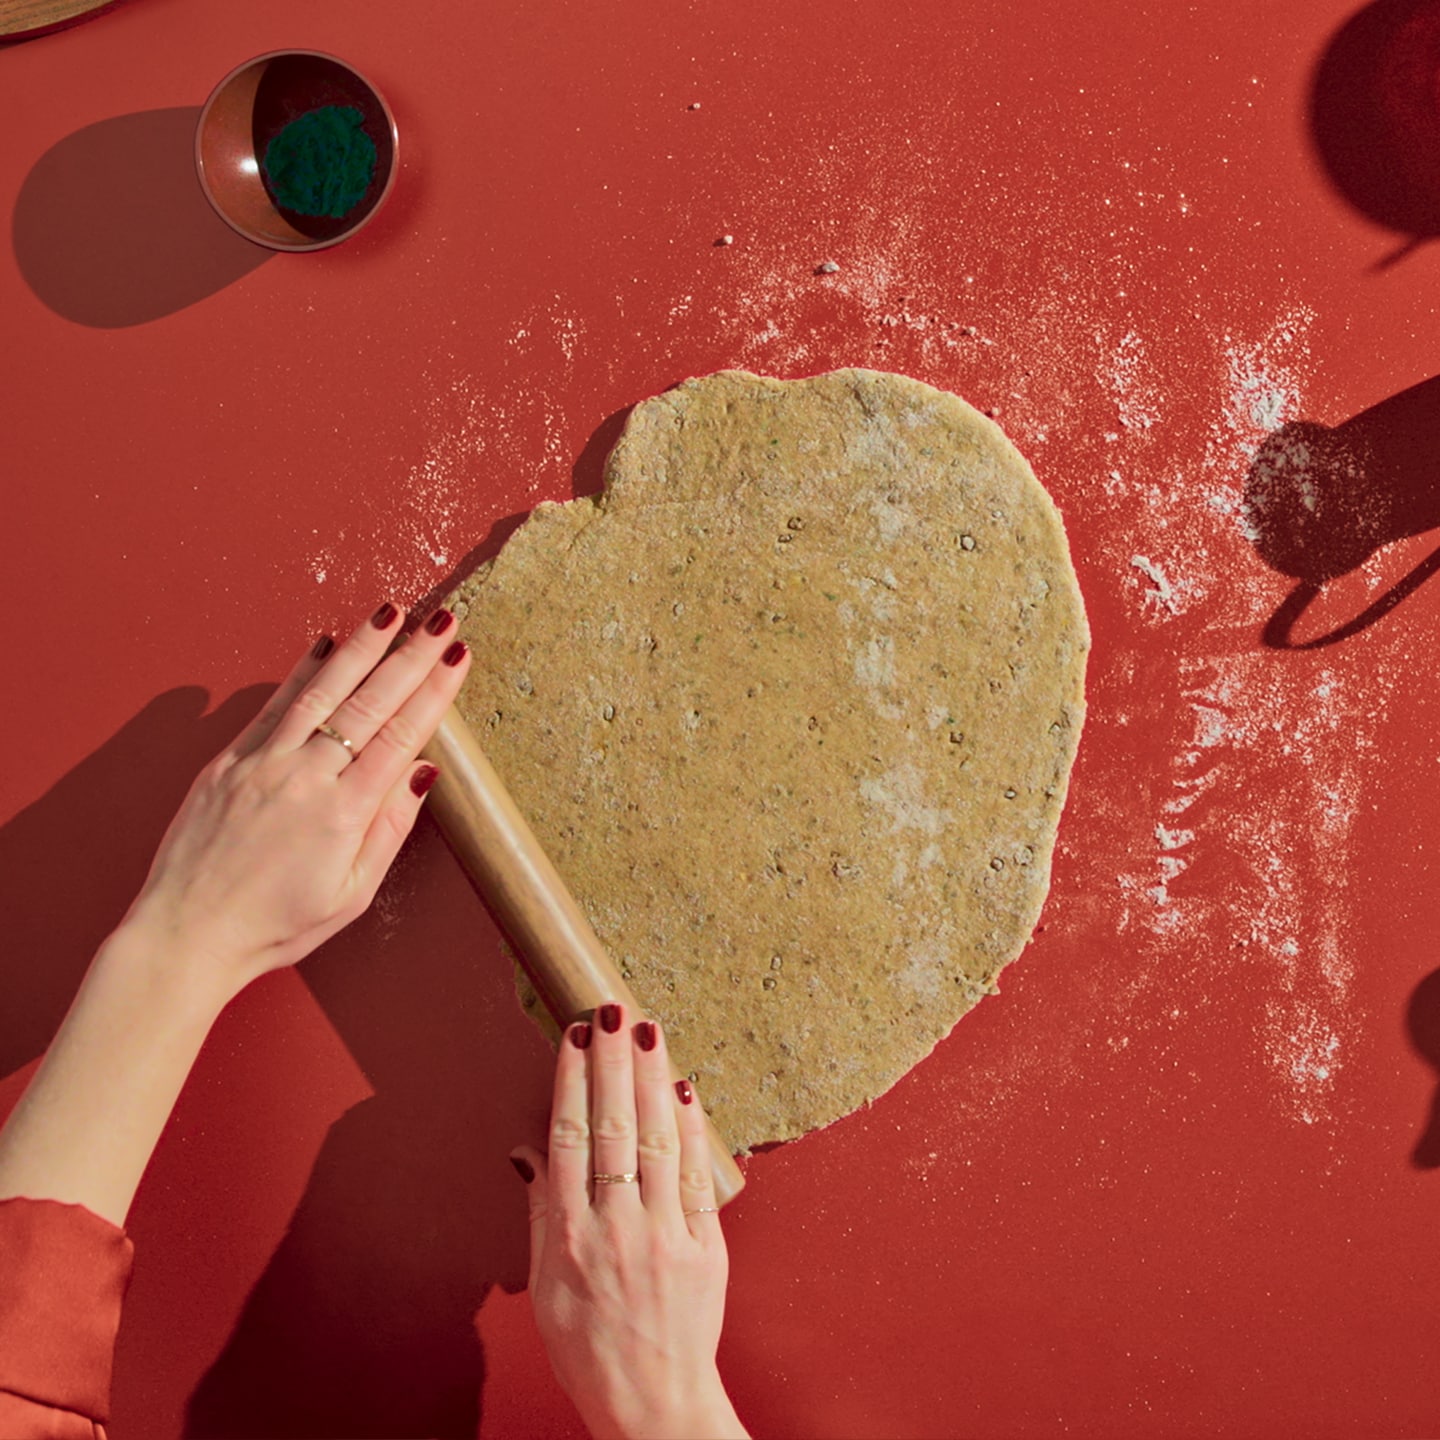
2. Place ball of dough on a floured surface and roll out using a flour-dusted rolling pin.

3. Dip cookie cutters into flour and press firmly into rolled dough to make shape.
4. Cut out all shapes in prepared dough and pull away excess to reveal cut-out portion.
5. Gather dough scraps into a ball, roll out on a floured surface, and cut again with floured cutters.
6. If using letter stamp kit, assemble words and then press firmly into dough.
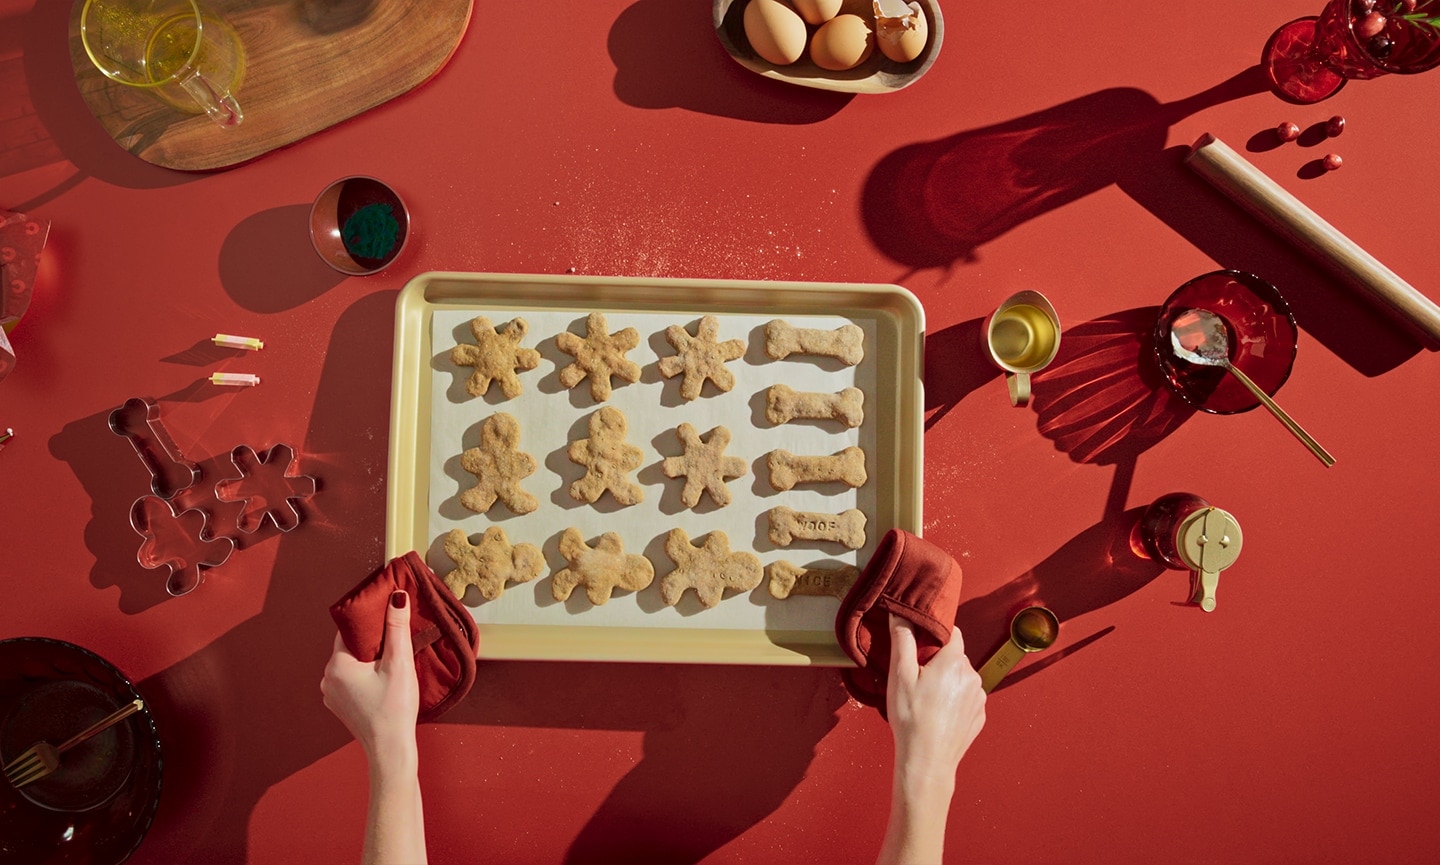
7. Place all cut out shapes on the parchment-lined baking sheet.
8. Put tray into pre-heated oven and bake until lightly browned, about 20–25 minutes. Remove from oven and allow to cool completely.
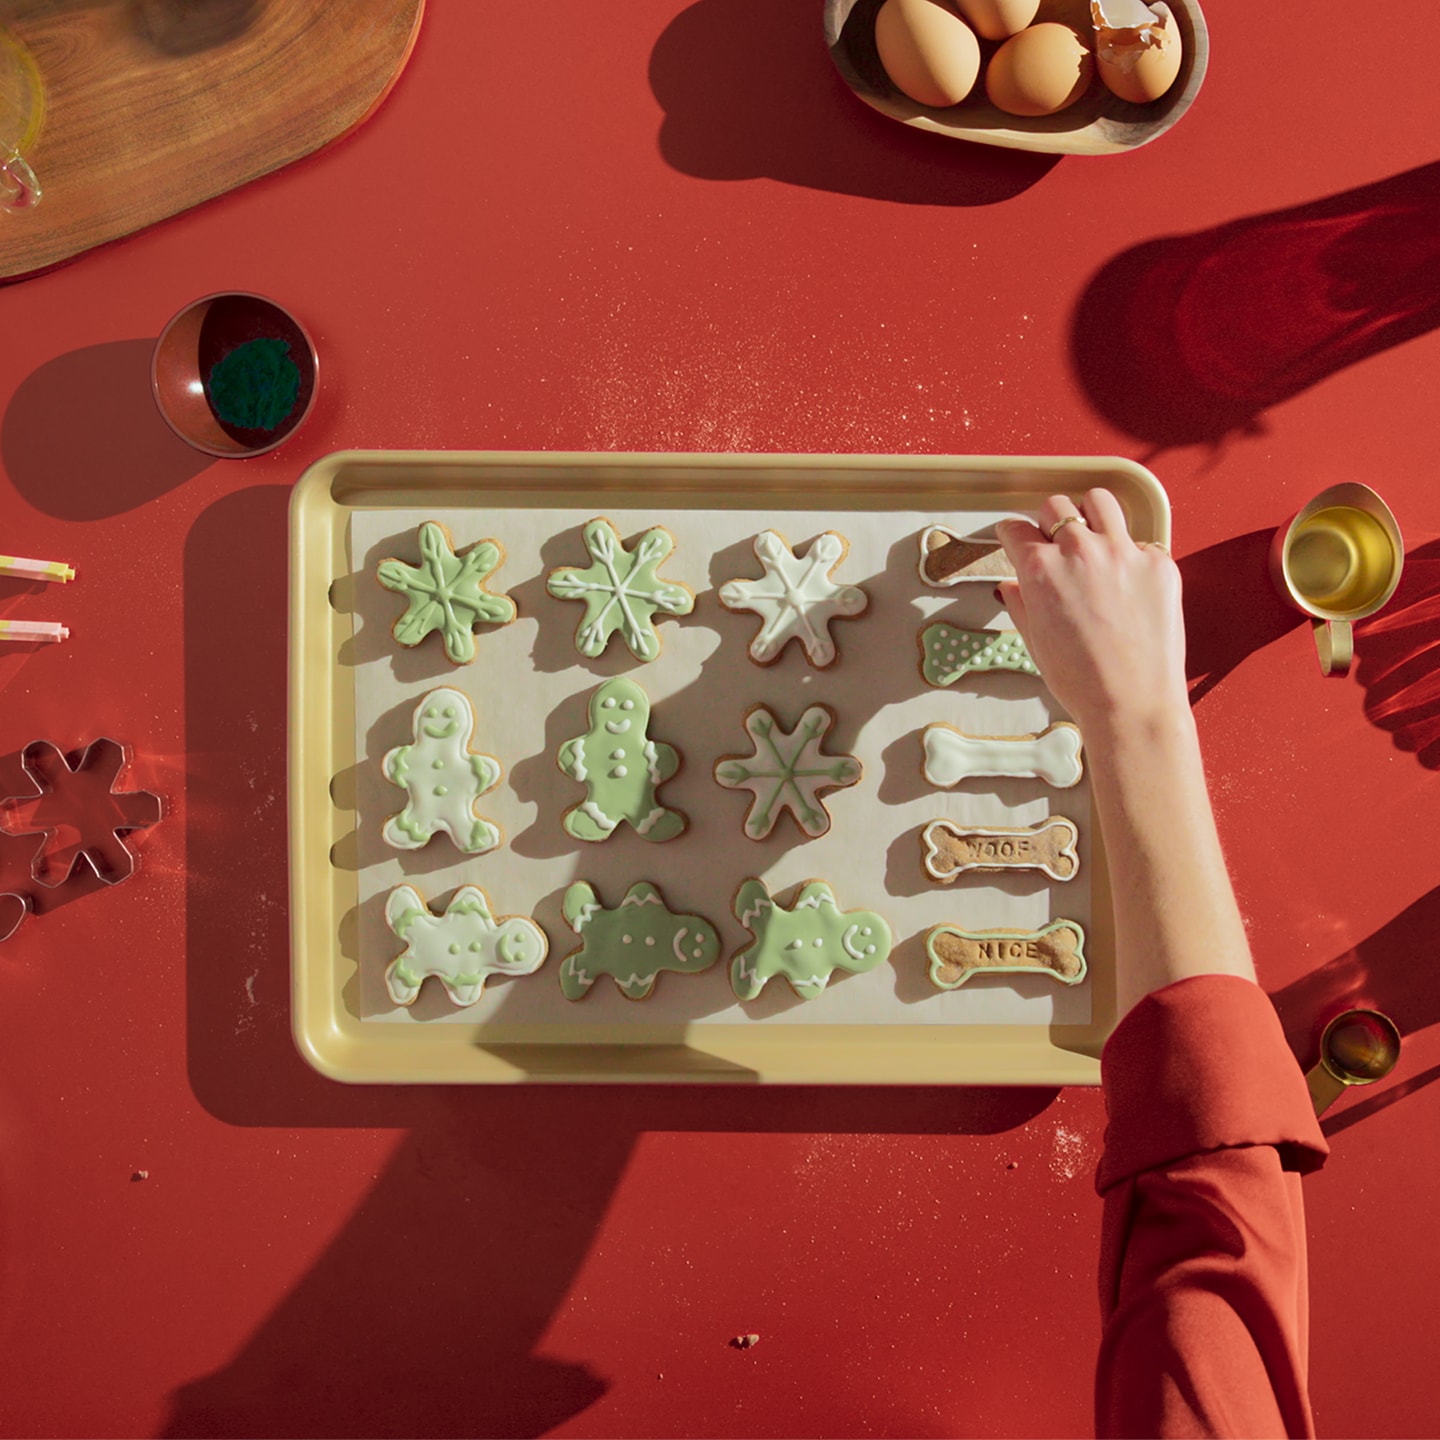
Time To Decorate Cookies!
1. To fully cover a baked, cooled cookie with icing, spread the icing with the back of a spoon. If icing is too firm, thin with a drop or two of water, mixing well.
2. Let icing harden, about 20 minutes.

3. Decorate with additional icing that has been put into an icing bag with the tip of your choice.
4. Pipe icing onto the cookies into a pattern you love.
5. Let piped icing harden about 20 minutes.
“Kitchen Sink” DIY Holiday Cookies for Dogs
Looking for something fast and easy that’s chewy, chunky, and chock-full of good-for-dogs stuff? Try this treat for your pup.
Note that because it contains meat, this cookie that must be kept refrigerated after baking.
- Yield: About 3 dozen cookies
- Serving size: 1 treat
- Prep time: 10 minutes
- Cook time: 35–40 minutes
- Download the printable recipe card
Ingredients
- 2 1/3 cups whole wheat flour
- 1 cup bone broth for dogs (try The Honest Kitchen Daily Boosters Turkey Bone Broth)
- 1/4 cup natural peanut butter (do not substitute sugar-free peanut butter or any peanut butter with xylitol, which can be toxic to dogs)
- 3 “bacon” strips, cut into 1/4-inch pieces (try Blue Buffalo Sizzlers with Cheddar Bacon-Style Dog Treats)
- 1/2 cup finely chopped skinless turkey breast
- 1/3 cup diced apple
- 1/3 cup (try Stella & Chewy’s Wild Red Dry Dog Food) finely ground in a food processor
- 3 tablespoons fresh or frozen cranberries, chopped
Recommended Products
Supplies
- Food processor
- Mixing bowl
- Measuring cups and spoons
- Chopping knife
- Sheet pans
- Parchment paper
- Tightly sealed storage container
Instructions
- Preheat oven to 350 F. Line a sheet pan with parchment paper.
- Place flour, broth, and peanut butter in a medium-sized bowl, mixing until moistened. Add chopped “bacon” pieces, turkey, apple, kibble, and cranberries; mix well.
- Drop by slightly rounded tablespoons onto prepared sheet pan. Slightly flatten each mound to approximately 1/2-inch thick.
- Bake until browned and the outside of the cookies is slightly crisped, 35–40 minutes.
- Remove from the oven and let cool completely. Store in refrigerator until ready to serve.
What should you do once you’re done with cookies? Make sure your dog has something to snack on while everyone else eats dinner: Make them a barkuterie board.
To ensure proper food safety, refrigerate prepared cookies and consume within 3–4 days, or transfer to a freeze-safe container and store for up to 1 month. These recipes were reviewed by a veterinarian. They are intended as a treat or snack. Treats should constitute no more than 10% of your dog’s daily food. Feeding too many treats can lead to nutrient deficiencies. Always ask your dog’s veterinarian before offering them any new foods.