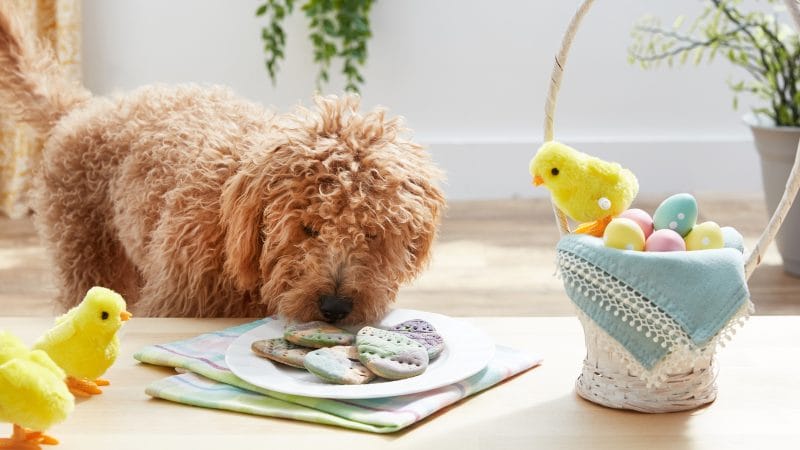
These DIY Easter Egg Dog Treats Are the Cutest Way To Celebrate Spring
The Easter bunny doesn’t have to be the only one delivering delicious treats this year. Whip up some DIY dog treats for your four-legged family this holiday.
These colorful, egg-shaped treats are easy to make and feature an ingredient dogs love: peanut butter. Serve the homemade dog treats on their own or add them to a dog Easter basket. You can even hide them for a fun Easter egg hunt.
Key Takeaways
- These DIY Easter egg dog treats are peanut butter–based baked treats made with simple pantry ingredients.
- This recipe yields 12 festive, marbled egg-shaped treats perfect for Easter celebrations.
- Always use xylitol-free peanut butter and pet-safe food coloring when baking for dogs.
- Store homemade dog treats in an airtight container to maintain freshness.
Ingredients:
- 1 ¼ cup all-purpose flour
- 1 tbsp. all-natural peanut butter (made without xylitol, which is toxic to dogs)
- 2 eggs
- 1 drop all-natural purple food coloring
- 1 drop all-natural blue food coloring
- 1 drop all-natural green food coloring
All food coloring must be pet-safe and free of artificial sweeteners.
Supplies:
- Mixer
- Measuring cup
- Measuring spoons
- Large cutting board
- Rolling pin
- 2 ½” x 3″ egg-shaped cookie cutter
- Nonstick baking sheet
- Toothpick
- Wooden skewer
- Straight-edge cutting knife
Yield: 12 dog treats
Serving size: 1 dog treat
Prep time: 45 minutes
Baking time: 30 minutes
Cooling time: 20 minutes
Total time: 95 minutes
Instructions:
1. Preheat the oven to 300 degrees Fahrenheit.
2. Combine 1 cup of flour with the eggs and peanut butter in the mixer.

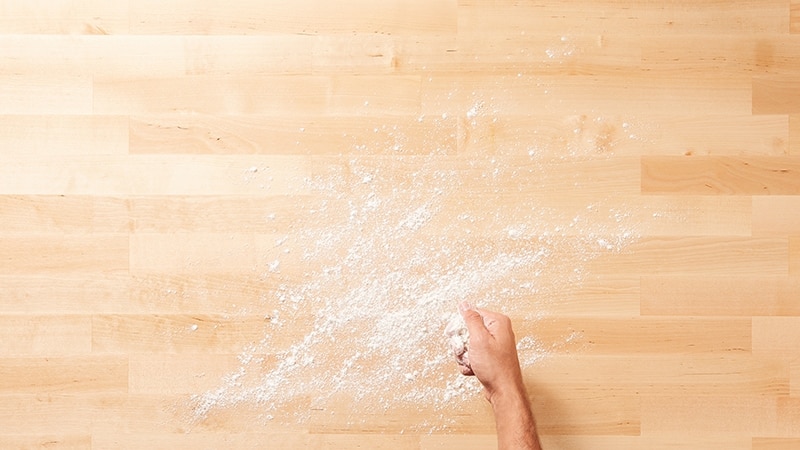
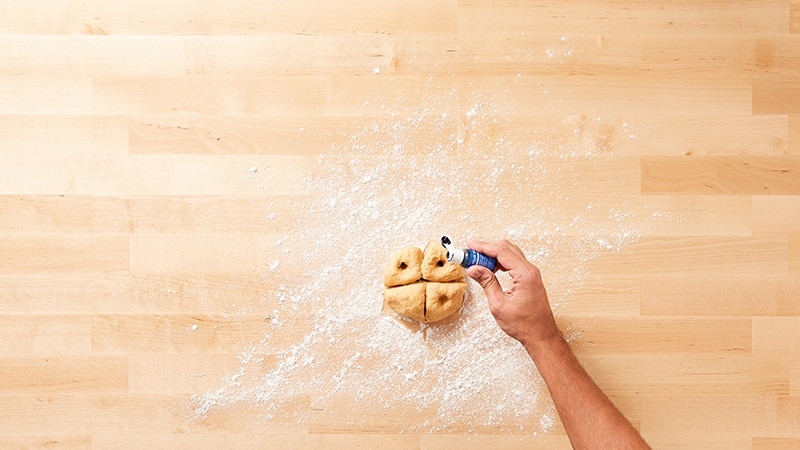
3. Use half of the remaining flour to dust the cutting board.
4. Divide the dough into four even sections on the cutting board.
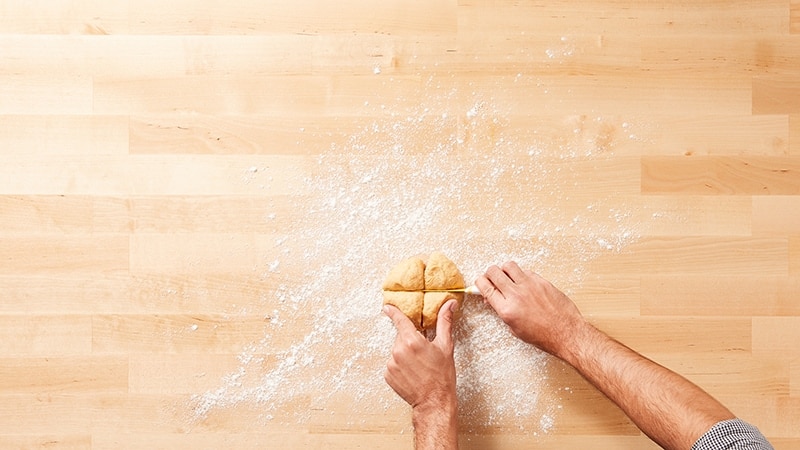
5. Using your finger, press an indent into three of the sections.
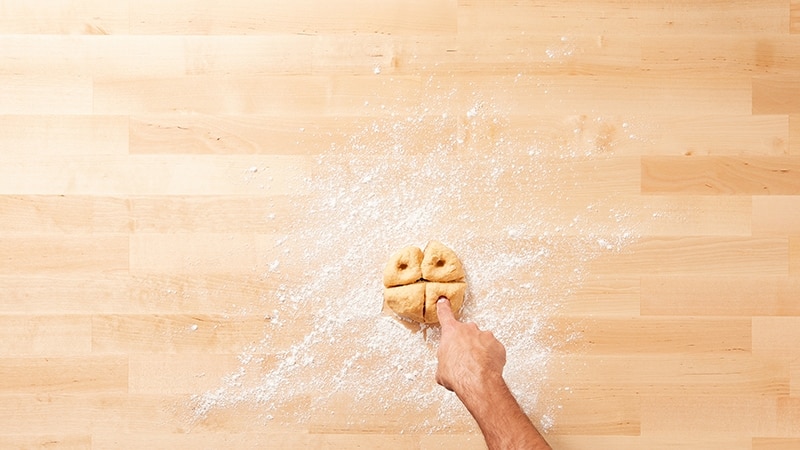
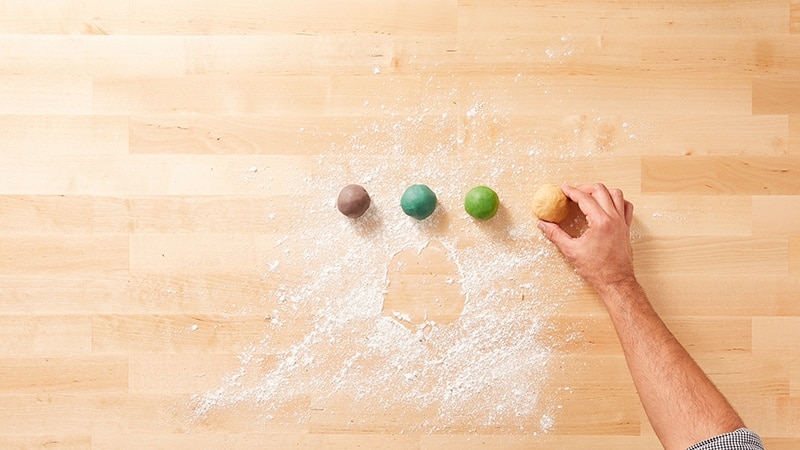
6. Place 1 drop of purple all-natural food coloring into the indent of one of the sections.

7. Repeat step 6 with the two other sections of dough, placing one drop of blue dye into one indent and one drop of green dye in the last indent.
8. Take the section with purple dye and knead the dough to make the color consistent throughout. Roll into a ball.

9. Repeat step 8 for each of the other sections. (For the uncolored dough section, simply roll it into a ball.)
10. Use the remaining flour to dust the cutting board again and the rolling pin.
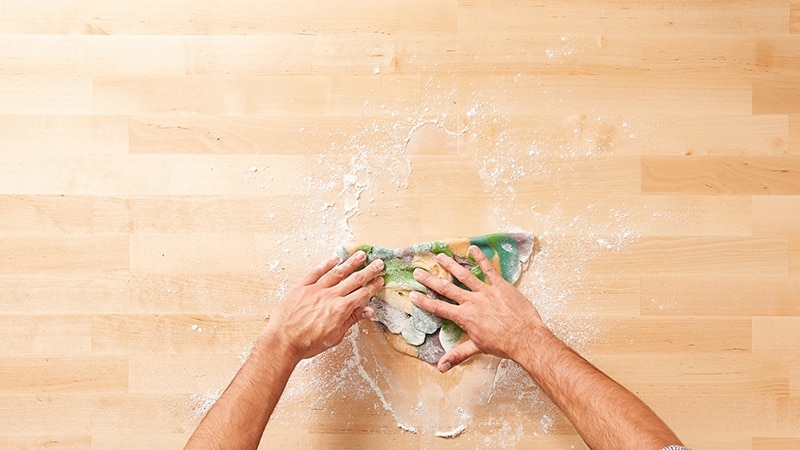
11. Tear off small pieces of each color of dough and place them onto the cutting board, with the edges overlapping. The goal is to create a marbled pattern.
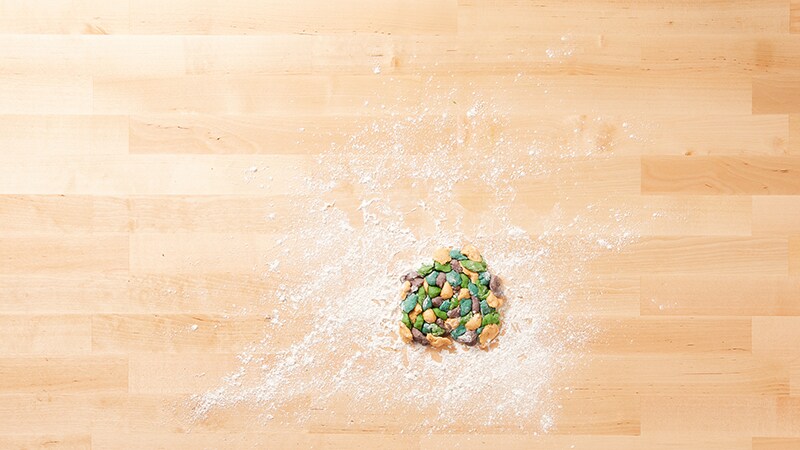
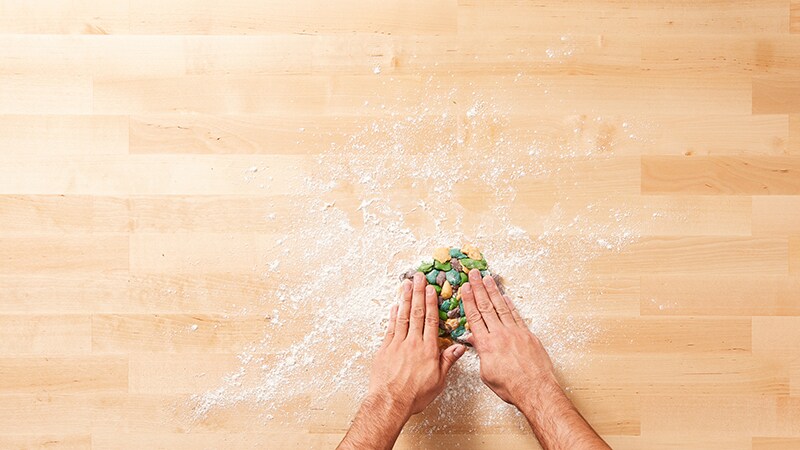
12. Gently flatten the dough using your hands without over blending the colors.
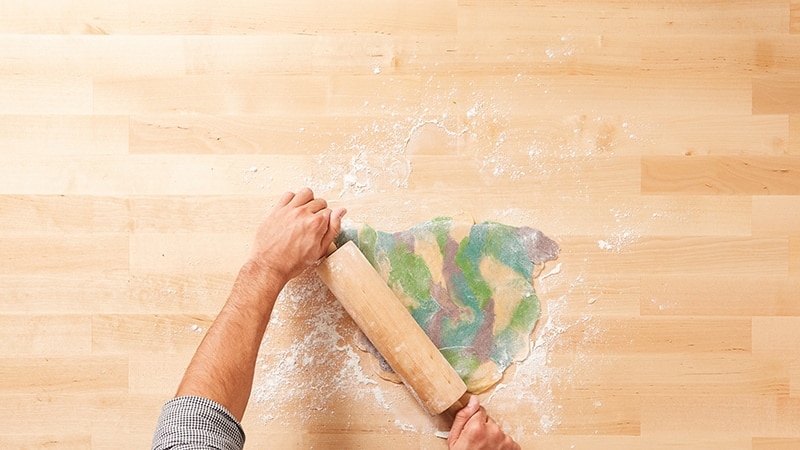
13. Roll out the dough using the rolling pin, and then fold the dough sheet in half.
14. Roll out the dough one more time, careful to disperse colors for a marbled appearance without over blending.
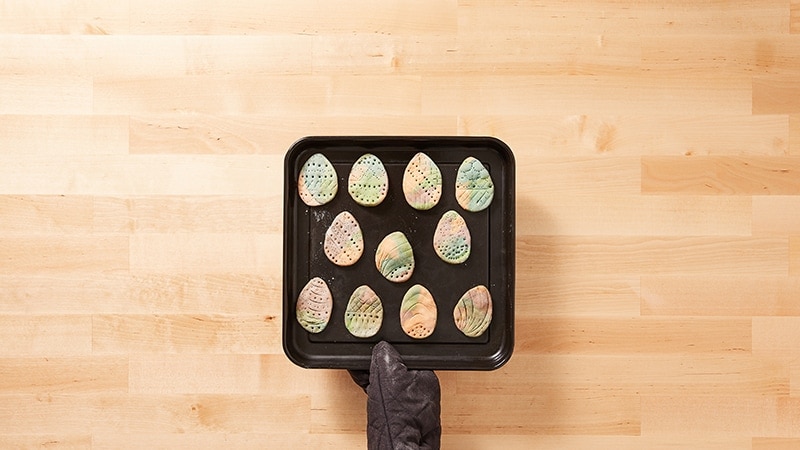
15. Cut cookies out using the egg-shaped cookie cutter, and place the cookies onto the baking sheet.

16. Use the toothpick, the wooden skewer and/or the straight-edge cutting knife to create a variety of shapes and patterns to decorate your dog treats.

17. Bake the treats for 30 minutes, and then let them cool for 20 minutes (either on the sheet or a cooling rack).
18. Give your one-of-a-kind pup their own one-of-a-kind Easter treat!