How To Set Up a Bioactive Terrarium
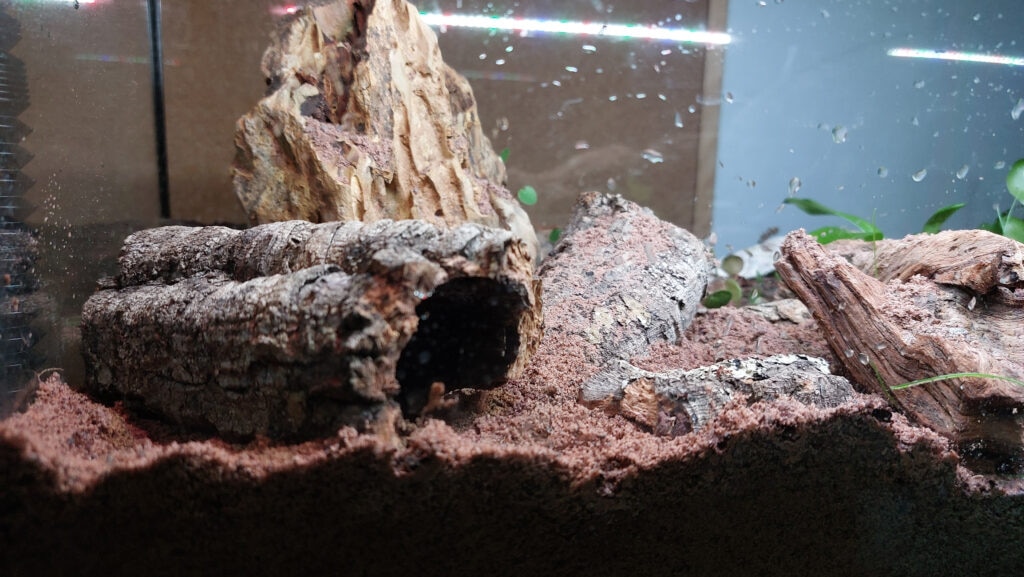
Photo by Michal Mackowiak/iStock/Getty Images Plus
A bioactive terrarium is more than just an enclosure—it’s a self-contained, living ecosystem for your pet. These enclosures help recycle waste, improve air quality, and give reptiles, amphibians, and insects a more natural home.
While they take a little extra planning up front, bioactive terrariums often make long-term care easier and more rewarding. This guide covers what a bioactive terrarium is, what you’ll need, and how to set one up, step by step.
Key Takeaways
- Bioactive enclosures offer enrichment, better air quality, and less maintenance work.
- Let your terrarium sit for at least a month before moving your pets into their new home.
- Not all bioactive terrariums need a drainage layer—it depends on the type of habitat you’re creating.
What Is a Bioactive Terrarium?
A bioactive terrarium is a self-sustaining enclosure that mimics an animal’s wild habitat. The goal is to create a miniature ecosystem for reptiles, amphibians, or insects where waste and debris get recycled naturally.
For most bioactive enclosures, microorganisms and a cleanup crew of small insects feast on decomposing leaves from live plants. The whole setup should offer cleaner air and a healthier environment for plants and animals—combined with great enrichment.
Planning Your Bioactive Terrarium
Before you go shopping, take the time to plan your pet’s new bioactive home. You’ll need to study the habitat your new pal needs. Is it a rainforest, a desert, or something in between?
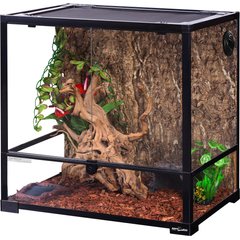
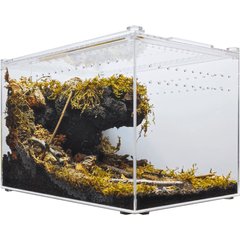
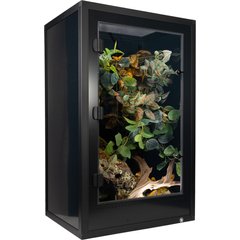
Terrariums come in many shapes and sizes, from glass and acrylic to PVC—there’s one for nearly every budget.
Recommended Products
HerpHaven Reptile Rescue and Sanctuary founder Denise Cieri explains that, for any enclosure, the size needs to be at least the minimum for the species, and the larger the better.
You’ll also need to include the depth of the substrate in your plans. The bigger the enclosure, the deeper it will need to be to help maintain the environment and provide enough substrate for your pet and the cleanup crew.
Recommended Products


Essential Bioactive Terrarium Supplies
Setting up a bioactive terrarium takes a little more time and effort than a standard enclosure. However, the time you spend will pay off in a beautiful habitat that gives your pal the best life possible as a pet.
- Drainage layer: Bioactive terrariums with high humidity usually need a drainage layer. Desert environments typically do not. Where it’s needed, the drainage layer prevents root rot and excessive water buildup. Common drainage layer materials include hydro balls and BioSpheres, many of which are clay-based.
Recommended Product

- Barrier layer: Even in a bioactive terrarium, you’ll need to refresh the substrate from time to time. A mesh barrier layer keeps the drainage layer from mixing with your substrate and making a mess.
- Substrate layer: One of the biggest variables, the type you use depends on your pet’s natural habitat. Premixed bioactive substrates are available for everything from desert to rainforest.
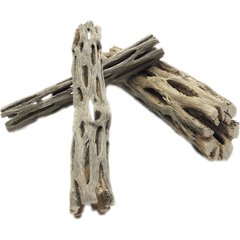
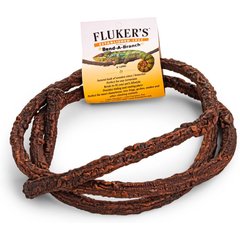
- Hardscape elements: These include wood, rocks, hides, and climbing structures that you arrange and secure throughout the terrarium to fill it with interest.
Recommended Products
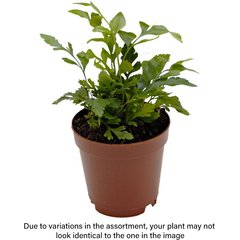
- Live plants: When you add plants, make sure they’re either grown for bioactive terrariums or you rinse them carefully to remove artificial fertilizers and pesticides that may harm your cleanup crew.
Recommended Product
- Cleanup crew: Isopods, springtails, and worms play a role in waste breakdown and aeration.
How To Set Up a Bioactive Terrarium, Step by Step
A few of the following steps may not be necessary for your situation, so be sure to match the microclimate to your pet.
- Prepare and clean the terrarium. Even if you have a new terrarium, take the time to clean and sanitize it before you start.
- Add drainage layer. If your bioactive setup includes a drainage layer, give it a good rinse and put it in place first.
- Place barrier layer. The barrier layer keeps your substrate from getting mixed into the drainage layer, so place it next.
- Add substrate mix. The substrate you use depends on the type of animal and their natural habitat. Place at least 2–3 inches of substrate in the terrarium.
- Install hardscape and hiding spots. Have fun installing these! Just plan things out before you stick something in a spot permanently.
- Install misting systems. If you’re installing an automatic mister, do this before adding plants and cleanup crew.
- Arrange live plants securely. Clean all plants down to bare roots before adding to your terrarium. Secure them in place—some pets are notorious for digging up or destroying live plants.
- Add leaf litter and clutter, if necessary. Not all bioactive setups require this, but if yours does, add it now.
- Introduce cleanup crew. Add them after everything is in place and ready.
- Mist and monitor humidity as necessary. Even if your pet is from an arid, desert-like climate, you’ll need to monitor the humidity and occasionally mist. If you’ve installed an automatic misting system, turn it on now.
- Allow the ecosystem to stabilize before introducing your pet. Bioactive habitats take time to stabilize. Adding your pet too soon can slow down the process, especially if they love digging up the plants.
Cieri offers a word of caution: If you have an insect-eating animal, make sure the plants you include aren’t poisonous. If prey insects feed on poisonous plants and are then eaten by your pet, those toxins can poison your pet.
Lighting and Climate Control
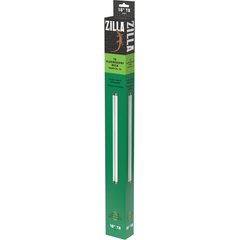
For the plants in your bioactive terrarium, a full–spectrum grow light should provide for their needs. However, animals have more particular requirements, and even species that don’t technically need UVB can still benefit from it.
Recommended Product
Misting systems are terrific for higher humidity habitats, and can be set on a timer that keeps everything at the right levels (depending on species and setup). However, add multiple thermometers and hygrometers to your enclosure. While the analog versions are cheap and easy, they’re also not very accurate.
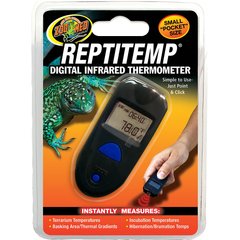
Rob Coke, DVM, Dipl. ABVP (Reptile & Amphibian), ACZM, CVA, medical director of South Texas Avian and Exotic Hospital, says the digital versions you can stick in the enclosure are more consistent but can also be off by a few degrees. So if you want to be very precise, other options like infrared digital thermometers are a better choice.
Recommended Product
Introducing Your Animal
After everything is set up, Dr. Coke explains that you’ll need to give it at least two to six weeks to make sure the temperature and humidity are stable, the cleanup crew is doing its job, and the plants have adjusted and are thriving.
During this time, take daily temperature and humidity readings and make adjustments as necessary. You may have to replace plants that aren’t flourishing or move them to better locations within the enclosure.
After adding your pet to the enclosure, keep an extra close eye on them for a while. Make sure they’re adapting well and aren’t overly stressed. Some snakes and lizards may stay hidden for a while—some can be especially sensitive to moving stress—but with time and patience, they should be fine.
Feeding in a bioactive enclosure is the same as in a standard or naturalistic one—carnivores need their regular feedings, while insect-eating and plant-eating animals shouldn’t be fed more than they can eat within a reasonable amount of time.
Insectivores like leopard geckos or veiled chameleons have an advantage in bioactive terrariums: your cleanup crew can also double as snacks.
Maintenance and Long-Term Care for Bioactive Terrariums
Maintaining a bioactive enclosure is a little different than a naturalistic one. In some ways, it’s slightly easier because the cleanup crew will take care of some things, like shed skin and some excess vegetable matter from feedings. But it’s also a little more work because plants grow and need to be trimmed, and you need to ensure the habitat stays balanced.
Try to monitor the following:
- Spot-clean as necessary. Your cleanup crew won’t get everything, but they should reduce the amount of cleaning you need to do.
- Monitor temperature/humidity. This is a must, no matter what kind of enclosure you have.
- Add food for cleanup crew as necessary.
- Watch for mold and unwelcome pests. Mushrooms can be a good sign, while mold and mites are not.
- Mist and trim plants as necessary. Your plants will grow (hopefully) and need to be trimmed, and you may be able to create plant starts from those trimmings.
- Refresh substrate as necessary. The idea behind a bioactive terrarium is that you don’t have to change out the substrate, but you may find that it sometimes needs to be topped off.
Creating a bioactive terrarium takes some planning, but the results are worth it. Once it’s set up and stable, your pet gets a healthier home with plenty of enrichment, and you’ll enjoy less day-to-day upkeep.
With research, the right supplies, and a bit of patience, you can create a thriving ecosystem that benefits both you and your animal.
FAQs About Bioactive Terrariums
What makes a terrarium bioactive?
Bioactive terrariums include insects or microorganisms that are part of the natural decomposition cycle of nature, paired with live plants and mosses.
Is a bioactive enclosure hard to maintain?
Not typically. Once they’re established, bioactive enclosures mostly take care of themselves, but you still need to spot-clean, monitor conditions, and make adjustments.
How often should I water a bioactive terrarium?
How often you water or mist depends on the habitat. An arid environment will need less moisture than a temperate one, and a temperate habitat will need less than a tropical habitat.
What eats mold in a bioactive terrarium?
Springtails and isopods are the main part of the cleanup crew that feeds on mold.