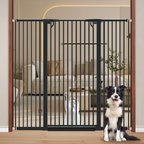
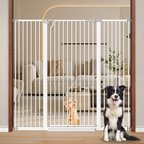
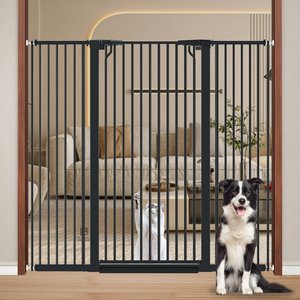
WAOWAO Extra Tall Adjustable Pressure Mounted Dog & Cat Gate, 56-in, Black
By WAOWAO
$187.48 (-6%) Chewy Price
$199.99 List Price
Tooltip Available
Promo, New Customers Only: Spend $49+, Get $25 eGift Card + Free Shipping with code: WELCOME
In Stock
FREE delivery
Arrives between Sep 15 and Sep 19
Free 365-day returns
Tooltip Available
About This Item
Details
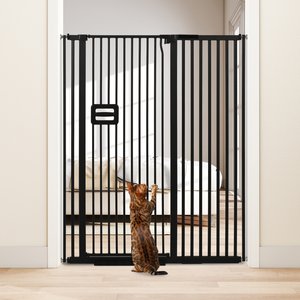
- Extra-tall height prevents even athletic cats from jumping over the gate, while the strong design prevents pups from pushing through.
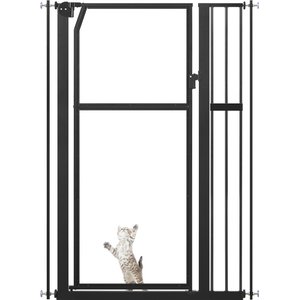
- Narrow 1.37-inch bar spacing keeps small cats and kittens from squeezing through, and included encryption rods let you close up any gaps.
- Pressure-mounted design installs in minutes without damaging walls or door frames.
- Dual-swing gate opens both ways and auto-closes for convenient, hands-free operation.
- Durable metal construction withstands daily use, and adjustable design makes it a perfect fit for nearly any indoor doorway.
Instructions
Size

Learn More About WAOWAO From Our Team of Experts
Compare Similar Items
All Breeds | Medium Breeds | All Breeds | All Breeds | All Breeds |
Pressure Mounted | Pressure Mounted | No data | Free Standing | Free Standing |
No | Yes | Yes | No | No |
No data | No data | 1.37 inches | No data | No data |
5 Customer Questions
Are their extension pieces to accommodate a 70” opening, I need 48” height x 70” width
Is the doorway wheelchair accessible?
My doorway is 33.5 inches wide. Will this fit?
Answer by • Jul 20, 2026
The WAOWAO Extra Tall Adjustable Pressure Mounted Gate can fit a 33.5-inch opening.
will a 48" gate work in a 46" opening?
Answer by • May 28, 2026
Based on the 46-inch door opening width you provided, the WAOWAO Extra Tall Adjustable Pressure Mounted Dog & Cat Gate is within the adjustable range. Using a combination of the main gate of 29-33 inches, plus the 3.93 inches, 3.93 inches, and the 7.87 inches extension pieces would make this gate suitable for your door opening and will not leave any large gaps.